Easy Pencil Self Portrait Tutorial
Below you’ll find an easy step-by-step tutorial for how to draw a Pencil Self Portrait. A watercolor background makes a nice contrast to the line drawing.
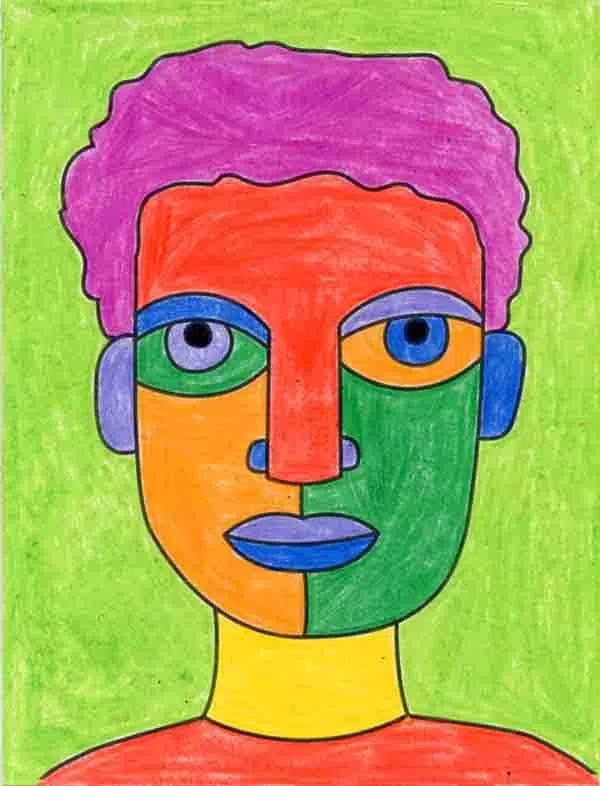
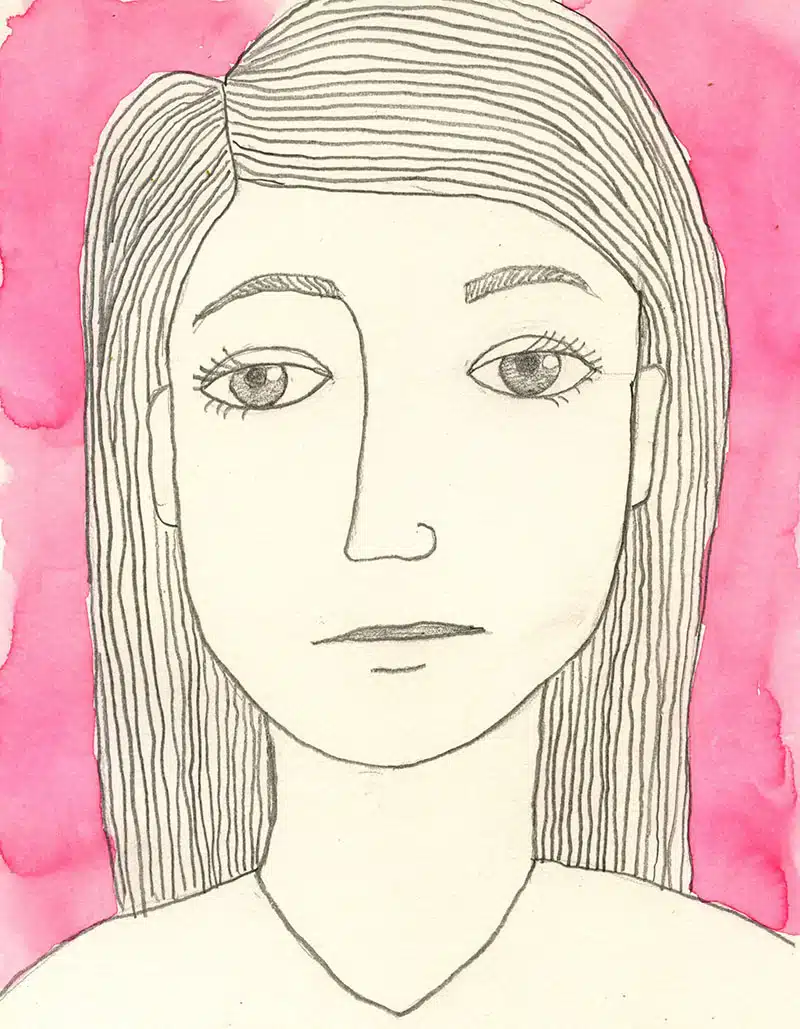
Pencil Self Portrait Drawing
Why Draw a Pencil Self Portrait?
When students learn how to draw a pencil self portrait, they can see for themselves how beautiful a simple line drawing can be. And when they add a wash of soft color in the background, they just might end up with a very special and poignant drawing of themselves.
This project features just a couple of common art supplies – a pencil and watercolor paint – but does so in a way that makes the most of what each media can do. The pencil lines are meant to be crisp and clean, and the paint is a single soft shade with that wonderful watercolor texture.
This tutorial will guide students through drawing themselves in an easy way with a minimal amount of erasing. They start with a large U for the face, fill it with their features, add neck and shoulders, and then complete with hair made completely of lines. A little bit of shading in the eyes and lips are all that’s needed to finish the look.
Recommended Art Supplies
Speaking of pencil lines, please note that using Soft pencils will make all the difference in the world in this drawing project. I recommend the Ticonderoga 2HB brand. They create a nice dark gray line, whereas the Medium are much lighter, and Hard even more so.
Please make a note also about the paper. Even though this is mostly a drawing project, which would seem to make watercolor paper unnecessary, the background results will not be the same if you try to use drawing paper instead. When watercolor paint is applied to it, the results are pale and mushy. It’s the reason why watercolor paper costs more than drawing paper, so just be advised.
One last tip about paint, I would recommend mixing up some light colors for students ahead of time, either with liquid watercolor paint or dissolved watercolor tablet paint. This portrait is intended to have a soft look, and works best when the paint is very light. This time their attention might be best spent on their drawing skills, as opposed to their paint mixing skills. But of course do what you feel is best for you and your students.
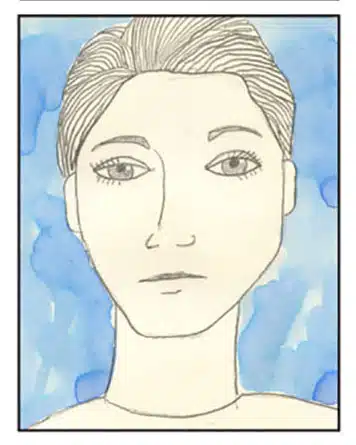
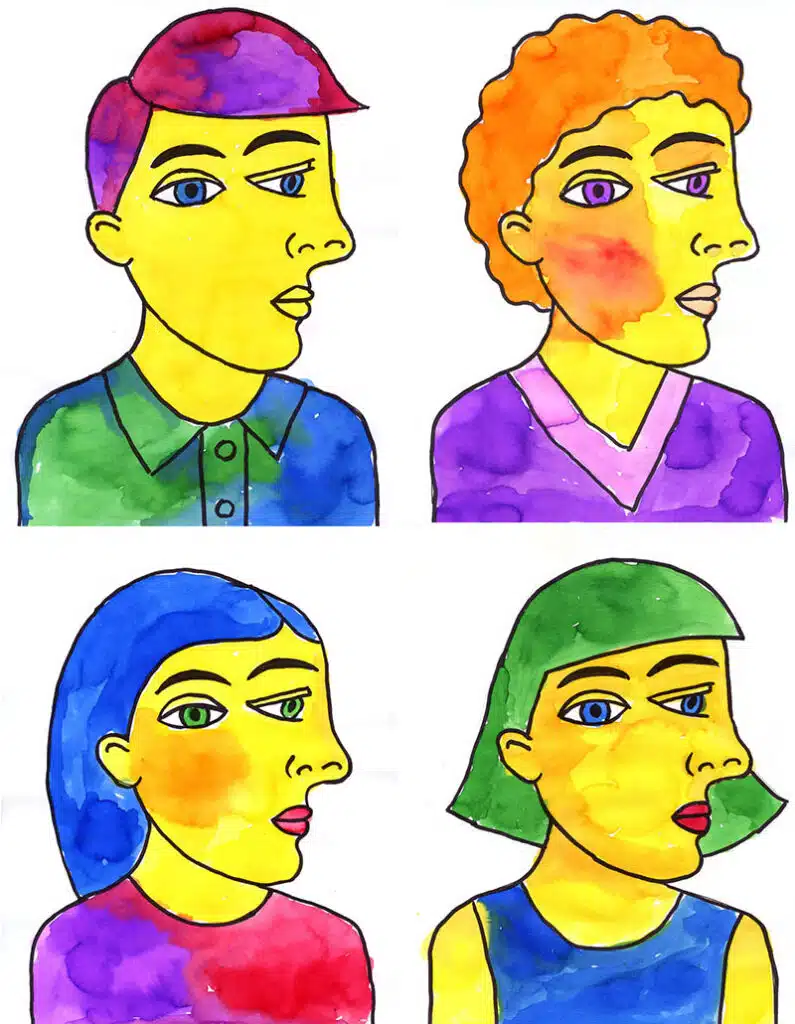
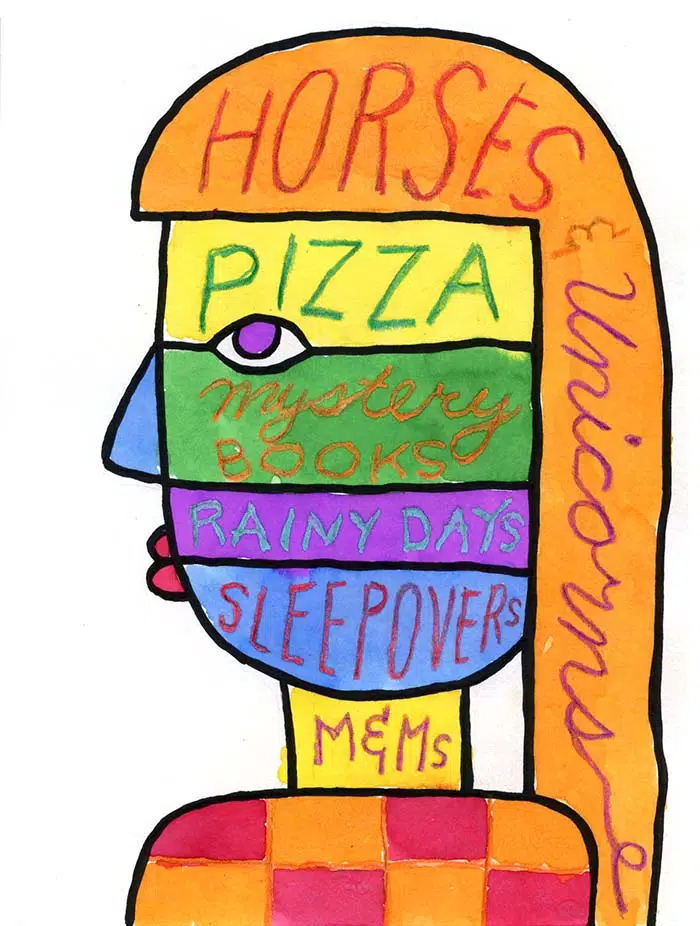
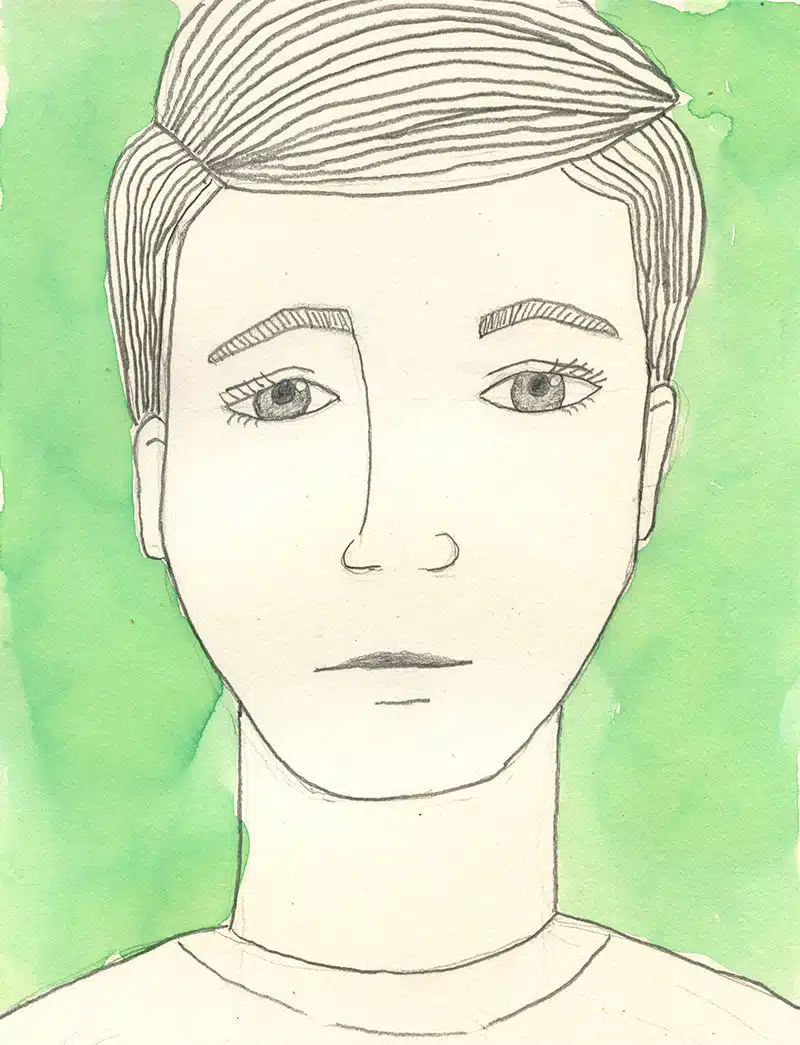
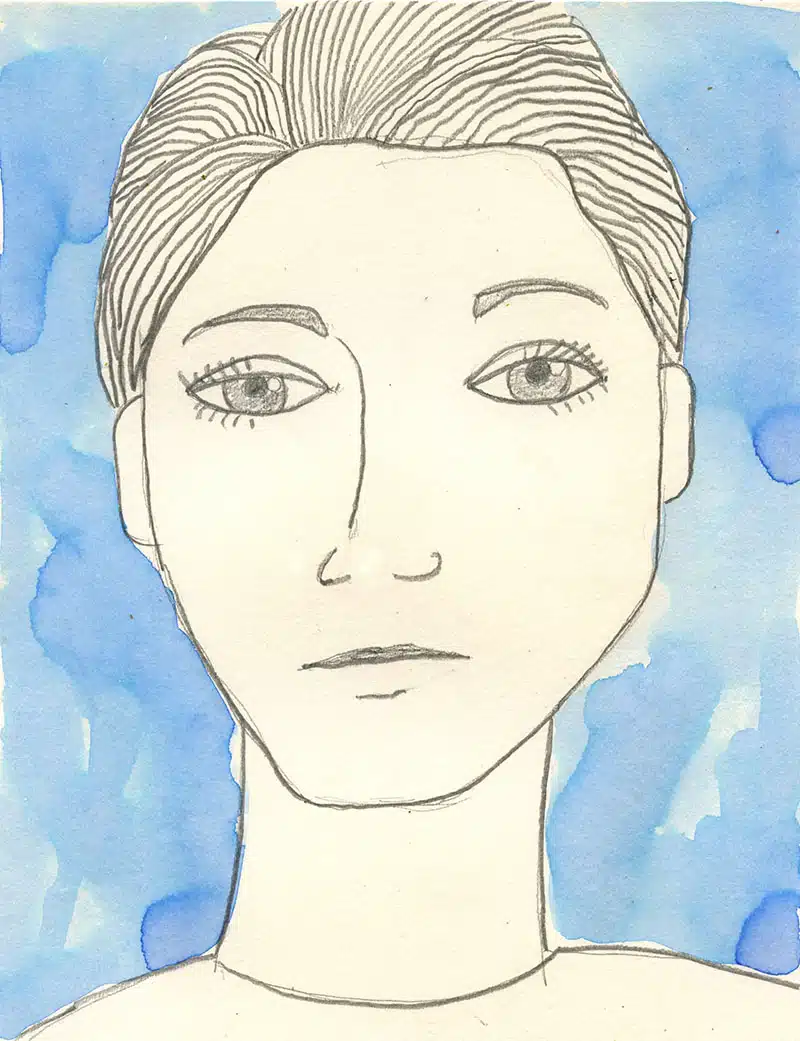
More Pencil Self Portrait Sample Drawings
Use the Button below to download a PDF Tutorial
Materials to draw a Pencil Self Portrait
- Watercolor Paper. Necessary to get that textured paint look in the background.
- Soft Pencils. Important! A hard pencil will not get you the crisp gray lines.
- Liquid Watercolor Paint. Easy to dilute so you get a soft color.
- Note: All of the above are Amazon affiliate links.
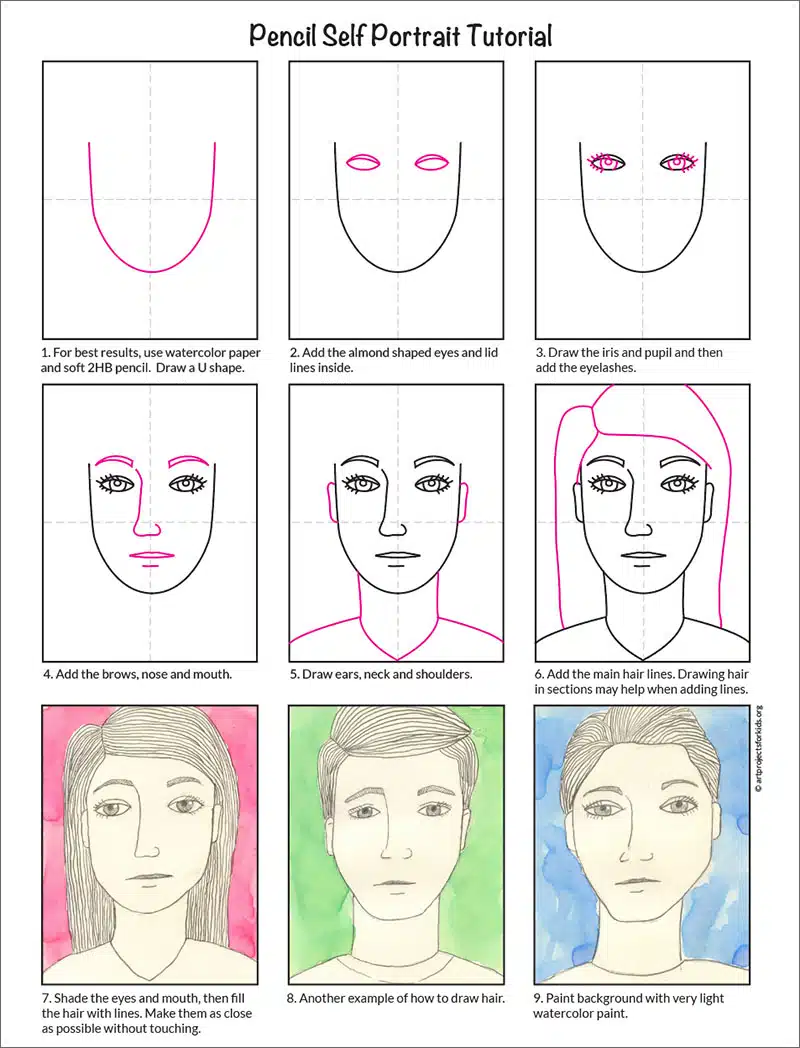
Step by Step Directions for a Pencil Self Portrait Drawing
Time needed: 45 minutes
Pencil Self Portrait directions
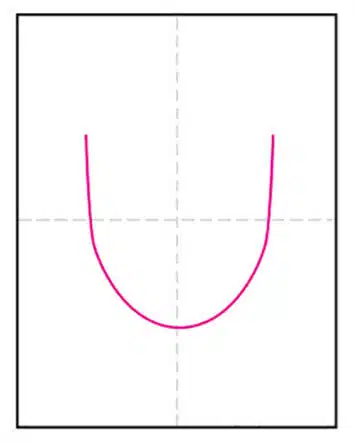
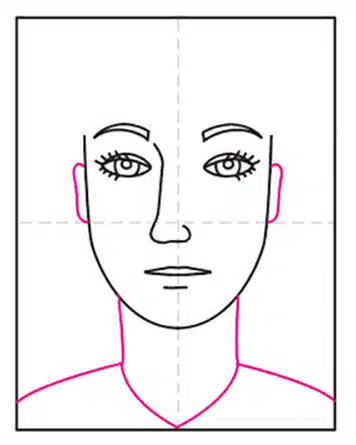
- Draw a large U shape.

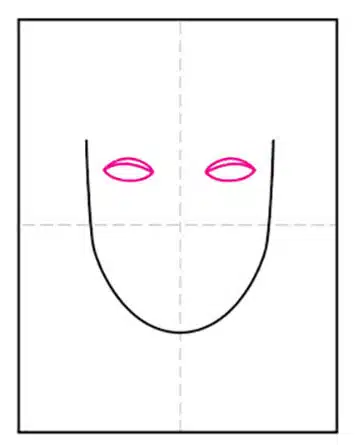
- Add the almond shaped eyes and lid lines inside.
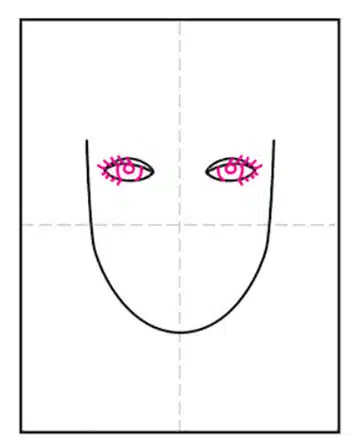
- Draw the iris and pupil and then add the eyelashes.
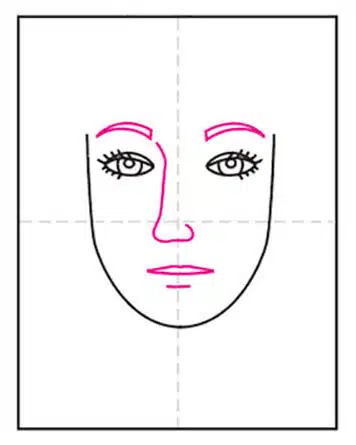
- Add the brows, nose and the mouth lines.
- Draw the ears, neck and the shoulders.
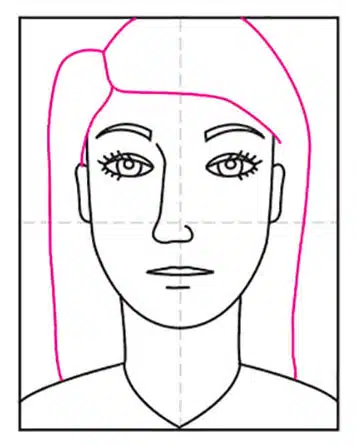
- Add the main hair lines. Drawing the hair in sections may help when adding the lines (see the examples below).
- Make the lines dark. Shade the eyes and mouth. Fill the hair with lines that are close, but not touching.
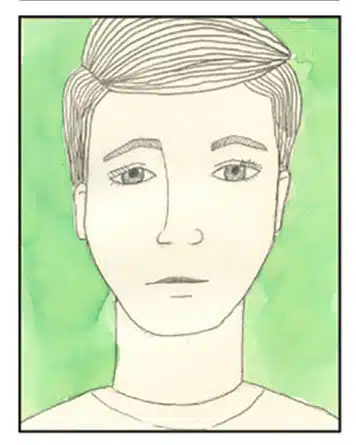
- Another example of how to draw hair.
- Paint the background with very light watercolor paint.