Table of Content
Many artists naturally get curious about self-portraits at some point in their creative journey. Even famous painters like Picasso, Van Gogh, and Rembrandt have created portraits of themselves. These are considered masterpieces now! However, drawing a realistic self-portrait does not have to be an arduous task, possible only for expert artists.
It can be challenging but rewarding to attempt portrait drawing as a growing artist. Learning some essential guidelines, proportions, and anatomy tips can quickly get you there. Of course, progress takes time, and practice is vital. But you can eventually master self-portraits simply by starting with the basics today.

Credit: Dika Toolkit on Behance
Read on to discover how to draw a self-portrait as a beginner with this easy guide!
General Tips
Before delving into the intricacies of drawing portraits, it is crucial to set up and prepare well for the best results. Also, remember that you are not just drawing faces when drawing portraits. Instead, you are trying to capture the emotional depth and personality of the character you draw.
Consider the following general tips for drawing self-portraits that can get you ready to create your masterpiece:
Choose Your Reference: Mirror or Photo?
There are two ways you can refer to yourself while drawing. Compare the advantages and disadvantages of using a mirror or a photo and decide what works best for you.
A mirror provides a three-dimensional, dynamic view of yourself. You can change the angles according to your needs and preferences and study the subject as a whole. You can also control the highlights and shadows better and understand your face’s bright or dark areas and contours. When it comes to self-portraits, using a mirror is the closest you can get to drawing from life.

Credit: Freepik on Pinterest
However, the drawback to using a mirror is that you might be unable to keep your face in the same position the entire time. This can affect the accuracy of the portrait drawing. It might become tricky to place yourself and your mirror at a convenient angle throughout your session.
Using a photograph is safer since the image is static and less confusing. By choosing a two-dimensional, flat reference, you are eliminating the risk of moving your head constantly. You can select any old picture or take a new selfie for a more recent representation of yourself. Since you are drawing a portrait, choose an image where your face is the main focus rather than the background.
You can also use a combination of both methods. This means using the mirror to position yourself suitably and clicking a photograph once you are satisfied with the light, pose, and angle. Another benefit of using a photo is editing it beforehand and drawing your picture accordingly. For example, try adding a pair of glasses, a flower crown, making the backdrop plain, etc., to the photo before sketching it in the self-portrait.

Credit: Chris Hong
Ensure Good Positioning
If you are choosing a mirror to work with, grab a clean one that you can adjust. Sit comfortably and find an angle that works for you, preferably one where you don’t have to change your position repeatedly.
Keeping the mirror straight ahead of you at eye level can be a good position for beginners since drawing from a mirror can be relatively more challenging. This arrangement can help you understand proportions more accurately compared to slanted angles. Even if you use a photograph, aim to keep it at your eye line for maximum accuracy.

Credit: Creative Market on Pinterest
Just like your reference, it is also essential to position your drawing surface perfectly. A vertical eye-level canvas will ensure your perceptions aren’t distorted while sketching. Moreover, your movement becomes stiff and restricted if you slouch down in a horizontal drawing space.
So, for the sake of your posture and portrait, keep the surface as vertical as possible and draw with your whole arm relaxed. You can use a tabletop easel to get this angle and a clip so your paper won’t slip out.
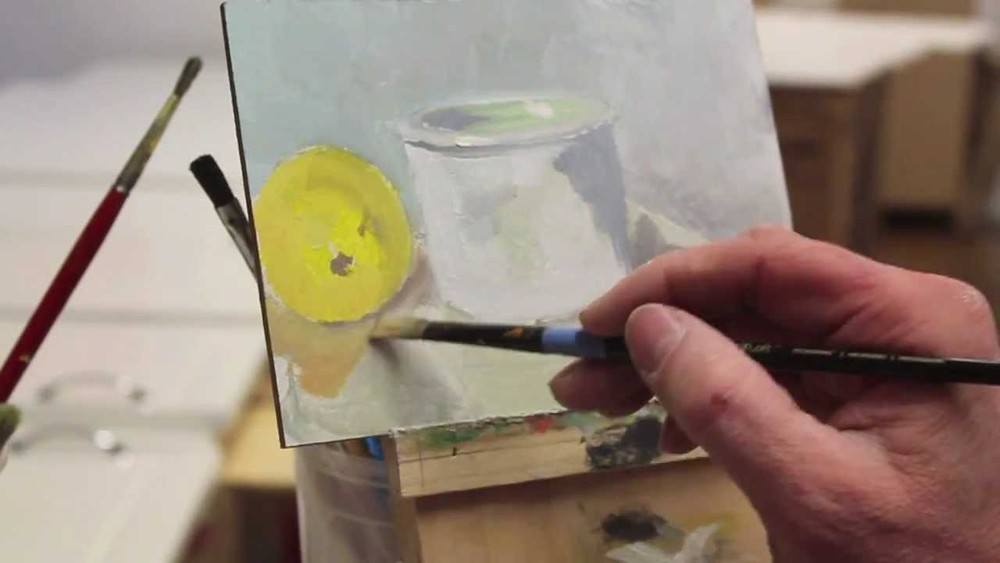
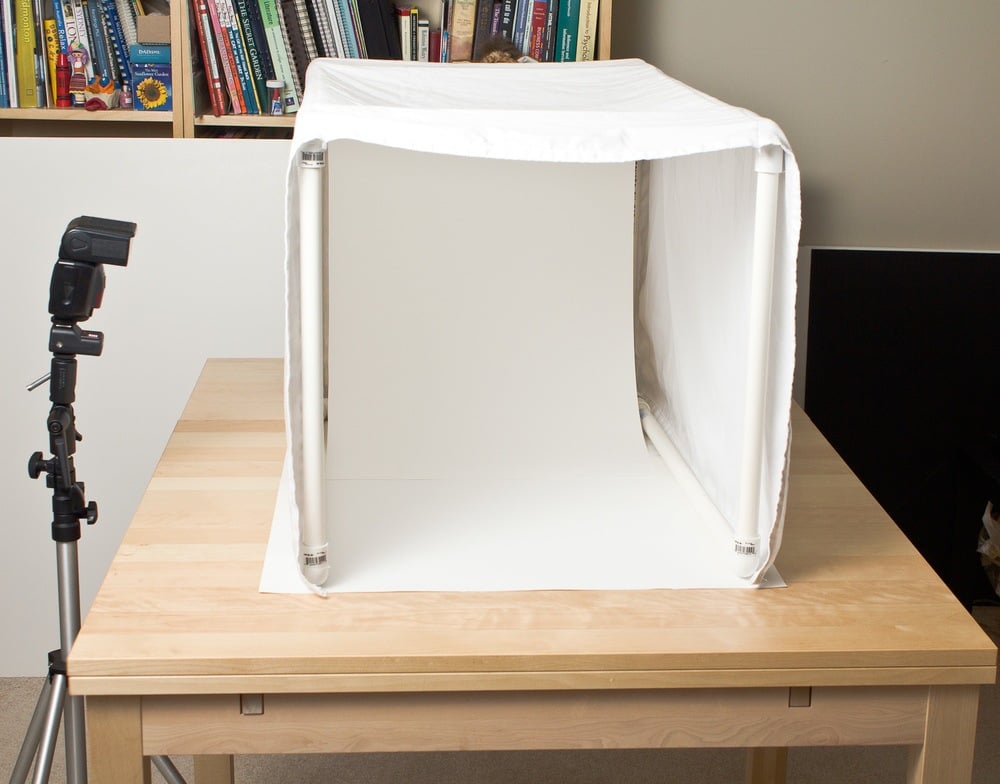
Ensure Good Lighting
Good lighting will ensure that your face is neither too washed out in light nor shadowed in the dark. So use a natural light source by sitting near a window or position yourself under a lamp or light bulb. Lighting can make a significant difference in the tone of your portrait- is it supposed to be dramatic? Cheerful? Dreary?
Try to angle the source of light in a way that shadows and highlights contour your face. This step is significant whether you’re using the mirror or clicking a selfie, this step is essential. A helpful tip is to keep the light source over your head to emphasize the shapes through shadows and improve realism.

Credit: Leo Bong Lei on Artstation
Study Your Features
Finally, study the subject of your self-portrait- that is, yourself! Some artists even recommend spending most of your time understanding your model rather than drawing.
If you find it difficult to analyze your own features, try describing yourself to others, or get someone to describe you. The adjectives used will give you more clarity on the unique qualities of your face. For example, someone might say “round-nosed,” “straight-haired,” “plump-lipped,” etc. Try to get as specific as possible to erase any misconceptions.
However, while studying your unique features, don’t forget that, typically, everyone has similar faces. This means understanding human anatomy can be very useful in portrait drawing. That is, the proportions of all faces tend to be similar. For example, the space between two eyes is roughly the size of an eye.

Credit: AnaviTil on DeviantArt
There is often a need to draw what may not be visible to the naked eye, such as the gentle hollows of someone’s collarbones through their shirt. To illustrate these aspects correctly, study the composition of the human body well.
Drawing A Self Portrait
Now that your workspace is ready, it's time to get into action and learn how to draw a self-portrait. But before you put your pencil on paper, determine what kind of portrait you want to create. Consider whether it will be a face self-portrait or a full-length one, whether it will be straight or profile view etc.
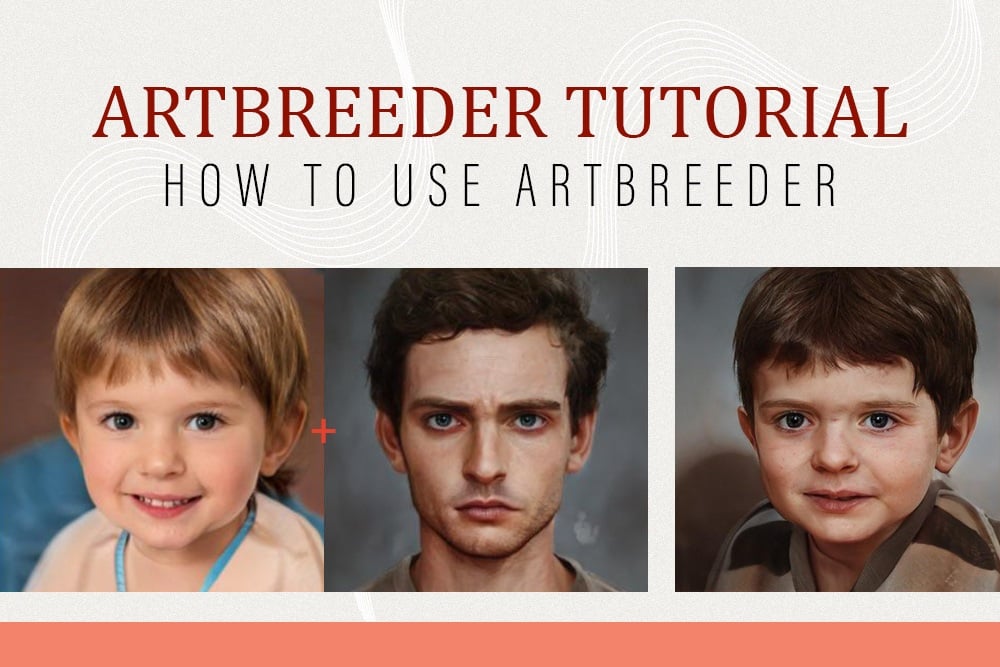
But if the following steps seem daunting, you can always use AI to create instant portraits. There are many apps and online tools with portrait filters and artistic effects such as Artbreeder, and you can quickly learn how to use them.
The following steps form a general guideline to recreate your face artistically.
Drawing The Outline
While drawing the initial rough silhouette of your self-portrait, use light, gestural lines that you can erase easily.
1. Draw a circle
As with drawing faces in any scenario, start with their basic shape. But before getting into its specific structure, trace a circle. This sphere will act as a base to construct the rest of the face around.
2. Draw construction lines
Cut the circle halfway with a vertical line, extending past it. This line, being at the center of the face, will help you align the rest of the facial features. Draw a horizontal line intersecting this line at the center of the circle.
Measure the circle's radius, and mark the same distance on the vertical line from the base of the circle. You can use your fingers to get the rough length if you don't have a ruler. This line will be the point of the chin, which can be slightly higher for a female face.

Credit: Darlene Nguyen on Rapid Fire Art
Use a light HB pencil so you can erase the unnecessary lines later!
3. Draw the rest of the face shape
So far, we have marked rough proportions based on normal human anatomy. As we draw the jaw lines, don’t forget to consider your particular face shape.
You can draw the cheeks by connecting the point of the chin to the circle's circumference. Draw two large lines from the chin tips to the circle at the points where the horizontal diameter touches its border.
You can make these lines more curved for a round, soft face. On the other hand, make it straighter for an elongated, oval face and steep and angular for a square look. By manipulating the second half of these two lines, that is, the area around the chin, you can
try to achieve the correct face shape.
So, you can even use four or more lines (instead of 2) from the sides of the circle to the chin line to get the shape right. That is, draw two lines reaching the halfway point of the circle and the chin line and two lines from there to the chin line.
If your picture is a three-quarter view self-portrait, draw a long curved line away from the circle's border. This line should be on the side you have turned your face towards. It will act as the symmetry axis that helps assign the other features.
4. Mark the position of eyes, nose, ears, lips, and hair
Now, erase the horizontal line drawn earlier in the circle, and sketch a new one. This line should be halfway between the top of the circle and the chin line, marking the eye level.
On the central vertical line, draw a short horizontal line at the halfway point between this eye line and the chin line. This new line marks the tip of the nose. The lip line should roughly be in the middle of the chin and the nose lines. At this point, you should now have three horizontal lines on your facial outline!
The ears come between the eye line and the nose line since the length of the ear is typically that of the nose. So, draw two vertical lines on either side of the circle in this area to mark space for the ears.

Credit: Wikihow
The hairlines are more subjective, but you can draw the first one roughly between the eye line and the upper tip of the circle. The second one can be between this new line and the top of the sphere. The eyebrow line would be a horizontal line halfway between the eye line and the first hairline.
Another way to draw the lines is to remember that the space between the top of the forehead to the eyebrows, eyebrows to the tip of the nose, and nose tip to the chin are roughly the same. This length is also approximately equal to that of the ear. So, you can divide the face into three equal parts using horizontal lines based on this knowledge.
Label these parts to avoid confusion!
Drawing The Features
Now that you have an outline ready, it is time to incorporate the rest of the facial features. The constructions line will help you position and align these facial features correctly. But make adjustments according to the unique shapes and placements of your face.
5. Drawing The Eyes
To get the size of the eye right, divide the horizontal eye line into five equal parts. You can do this by marking four tiny vertical lines along the line. You can use a ruler at this stage to get the measurements correct.
To place your eyes, draw two curves from the first vertical line to the second, at the top and bottom. This step will create a pinched almond shape. Draw the other eye by drawing two similar curves from the third vertical mark to the fourth. In this way, the corners of the eyes should touch the vertical lines.
For the profile view, you can draw the eye on the eye line by placing the right eye between the symmetry line and the circle. Place the left eye one eye-width away from the symmetry axis.

Credit: Şirin Mutlu
The pupils should be perfect circles drawn to gaze in the same direction. However, the top eyelid will cover a part of the pupil. Try to center the iris within the pupil. Ensure the upper eyelid has a crease and the lower eyelid has some thickness.
Once the outline is ready, draw in the details. When sketching the eyelashes, make sure they grow from the bottom lines of the eyelids. Draw spokes on the pupil around the eyelids, leaving some space for light reflection.
Also, draw the eyebrows and a few hairs on them. Usually, their arch is in a curve larger than the eye. Drawing the eyebrows too close might give your self-portrait a gloomy or somber expression. So, keep them at a distance for a cheery look.
6. Drawing The Nose
Before sketching the nose, draw two vertical lines from the inner corners of the eyes to the horizontal nose line. Within this rectangular space, draw your nose according to your nose shape. At the top part, you should mark the curved bridge of the nose between the eyes.
Typically, it includes two concave curves, a central circle at the tip, and two semi-circular claws on either side of the sphere. The steepness of the outward concave curves depends on the shape of the nose. You can draw these lines from the tip of the eyebrow to the nose line.

Credit: Rupesh Ranjan
But the length of these curved lines depends on your nose's size. If you have a short nose, these lines need not extend to the nose-line. The nose line might be the right place to stop if it is a medium-lengthed nose. You may draw past the nose-line if you have a very long nose.
7. Drawing The Lips
To mark the area where the lips would fall, draw two light vertical lines from the midpoint of the eyes to the lip line. The length of the lips you draw within this space depends on the size of your lips. Long lips may touch these lines, whereas average ones may fall short of them.
Remember that the lip line from earlier marks the bottom line of the lower lip. The middle of the lip would be roughly halfway between the nose and the lip line. On either side of this midline, draw a subtle ‘M’ shape for the upper lip and a wide arching ‘U’ shape for the bottom lip.

Credit: Şirin Mutlu
You can also use three small circles to try and get this curvy shape of the lips right. Draw two circles on top and one at the bottom for the ‘M’ and ‘U’ shapes, respectively.
Now add details to your lips. For instance, straight vertical lines are usually visible due to the folds in the lips. If you intend to draw your teeth, don’t darken every single one and emphasize them individually.
8. Drawing The Ears
In the area marked earlier for the ears, draw outward convex curves on either side of the face. These should not be perfect curves but have ridges and swoops of your specific ear shape. The size of the ears is roughly that of the nose but consider your particular length, too.

Credit: SmartyLogo
The shapes inside the ear include lots of curves and lines. The ear has a Y-shaped protrusion on top and a hollow at the bottom, forming the ear bowl. The earlobe is the only substantial flat surface in the ear. You may not need to draw your ears in great detail because the hair will likely cover most of it, keeping only the earlobe visible.
9. Drawing Hair
Drawing hair is much more subjective than the other facial features. But if you need some general guidelines, use the top hairline as the real utmost point where your forehead stops and your hair starts.
The points where the bottom hairline touches the circle can be the spots where the hair recedes and grows to the back. This line marks the lowest distance between the rest of the face and the hair on top.

Credit: Brittany Schall
To make this easier, add a third hairline in between as an additional guide to make this easier. Draw a smooth, curved hairline if you are drawing a female face. An angular, sharp hairline is typically more accurate in males.
Draw some wisps of hair within this outline of your mane according to your hair type.
10. Shade And Blend
At this stage, you have completed the outline of your face and its features. Recheck proportions and angles to ensure maximum accuracy. Now, you can add the finishing touches, shade the light and dark values, and blend till completion.
In this refining process, start by erasing all the construction guidelines and labels that no longer serve a purpose. Next, identify the shadows in the face and color in the areas darkly. To gauge the dark tones in your photograph, try squinting at it. Identify the mid-tones and lightly shade those regions as well. You can leave the absolute whitest areas blank.
Shading The Facial Features:
With eyes, this includes shading the top part of the eye socket region under the eyebrows. The areas below the eyelids (like the under eye) are also typically in shadows. Even the white part of the eye needs some shading and is not entirely monochromatic.
Make sure to shade the bridge of the nose and below the nose. A helpful tip is to remember that the protruding parts typically form shadows below. So, the area below both lips would also need to be shaded darkly, including their meeting point.
The outlines are also in the dark tonal range, so you must shade the sides of the nose and around the lips. If you are drawing teeth, the space between them is always extremely dark. The upper lip usually is darker because it angles in, and sometimes the skin is more pigmented.

Credit: Tu Bui on ArtStation
Shading the ear is a little trickier, but its bowl-like hollow is typically always in dark values. But the ear also has a lot of fair value since it is oilier and easily reflects light. Ensure that you leave white spaces for such light tones. For instance, the tip of the nose, the plump area of the lips, etc., have luster. If you accidentally shaded these regions, you can use an eraser or white charcoal for this step.
Finally, add more hairs and details. Next, you should shade and block in the rest of the dark points, including the pupils, eyebrows, hair, etc. You can draw hair using a mix of light and dark strokes, highlighting areas that catch the light. Adding these shadows and balancing the tonal values ultimately makes the self-portrait realistic.
Contour The Neck, Cheekbones, and Jawline:
Step back to reassess the face shape, and edit the jawline to make it softer or more defined as required. Sketch and shade browbones and cheekbones to make the self-portrait look three-dimensional and realistic. Draw shadows in the area below the chin line and sculpt the neck using different tones. Shape the cheeks by filling in the correct shade values according to the shadows cast by the light source and angles. A narrow jawline can enhance the youthfulness of your picture!

Credit: Craft Realm
Blend The Tones:
Now use a stump or a smudge tool to blend the dark and light values that were colored in. You can even use your finger to rub the pencil marks and smoothen the blocked-in shades. Blending pulls together the different tones in the self-portrait, adding depth and realism to the shadows and lights. Ensure you don’t accidentally darken the areas that are supposed to be light!
Add Final Details:
Finally, add the finer details that might be unique to you. These details include moles, freckles, wrinkles, etc. You can also draw in earrings, hats, scarves, or any other accessories you want to feature in your self-portrait. Finish sketching the eyelashes and eyebrow hairs, too, if you haven’t already. Also, remember that when you add jewelry or glasses, you need to add shadows for them.

Credit: Dendy Harahap
And there you have it- with this final step, you should have your self-portrait ready. You can go one step further to preserve your picture by applying spray varnish on top. You can also frame your artwork and hang it up somewhere. Make sure to choose a frame that complements your portrait- back frames suit charcoal sketches, whereas brown borders go better for colored pictures!
As you can see, you don’t need to be an advanced artist to master this craft. Breaking down the drawing into simple lines and shapes, dividing the human face into sections, and understanding spacing and anatomy helps. It might take time, but you can draw realistic portraits of yourself with enough practice.

Credit: Elsie Green
While drawing in the little details, don’t forget the overall picture- the parts of the face are interconnected. Going from dark tones to lighter values is beneficial when shading your self-portrait. Following these general tips from this guide can support you as you learn how to do a self-portrait as a beginner.
Once you get the hang of it, try different angles and poses to challenge yourself in portrait drawing. Learning to paint your portraits can also be an exciting way to take the task one step higher. You can also move on from self-portraits to drawing other people and characters. Now that you know the theory and rules, who not jump into action?